This feature is a tool introduced by Apple on its cell phones to help users.
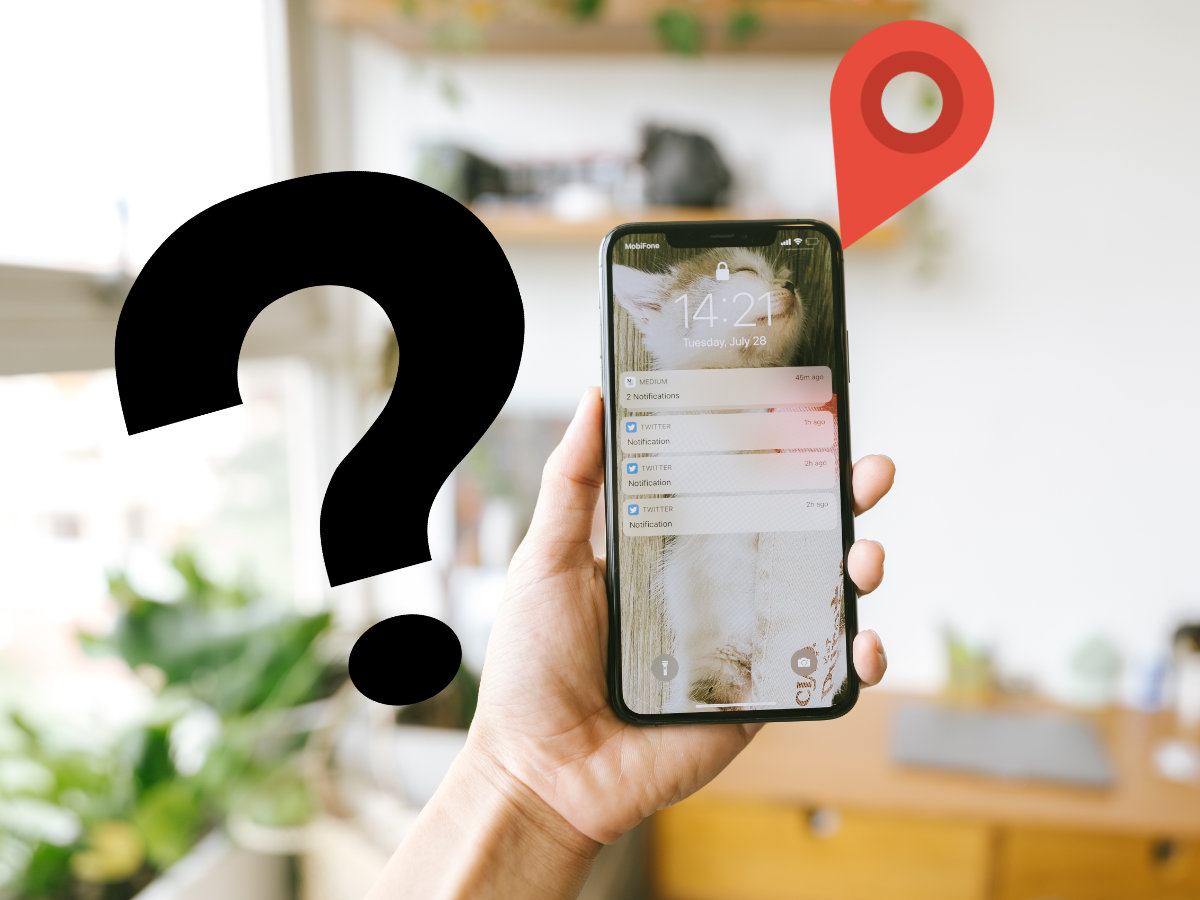
It is a function that reveals the last know location of the device, something that helps a lot in case of loss or even theft.
It is used to detect, on a fully detailed map, the current location of the phone as long as it is connected and operational.
In case it is switched off, this tool also reveals where it was the last time it was in operation.
Similarly, it can also be used to locate a person who has an iPhone that has this feature enabled.
An interesting security measure for owners of these phones that is worth mastering.
If you do not know how to enable and disable “Find my iPhone”, we are going to make it easy for you with this guide.
We give you all the explanations and detail step by step of what you have to do using a few different methods.
Steps to enable or disable the “find my iPhone”
The steps to enable or disable this option do not vary much depending on the medium you are using.
It is important to know that, in most cases, it is not possible to enable this option unless you are using the phone with which you want to enable it.
To disable, however, things are easier.
In the following sections we explain everything:
Find Your iPhone If The iPhone Is locked
If the phone is locked, it is because it has a previous owner has not properly cleared the information and now you are prevented from entering the device.
In this case, whether you see the activation lock screen or the password screen, what you should do is what we are going to explain with the following steps:
- Contact the previous owner of the iPhone by any means, it seems obvious but this option would solve the problem almost immediately.
- Ask them to disable the phone lock. This can be done by asking them to do the following:
- Log into the iCloud website https://www.icloud.com with their Apple ID.
- Once inside, go to the Find my iPhone section.
- After that, click on the All devices option. It appears at the top of the screen.
- Mark the device to be deleted from the list.
- When it is selected, click on the option Delete device or Delete.
- If prompted, click on Remove from account or OK.
- When you have done this, you will be able to access the phone again. If there are no changes, we recommend turning the phone off and on again to refresh the information.
- Now, go to the Settings section to access the iPhone settings.
- From there, click on General.
- Now go to Reset and, within its menu, press Erase contents. It will finish wiping the device if not already done.
- Now, go back to Settings and enter both your Apple ID and password in case you don’t see a screen asking you to do so.
- Within the Settings menu, click on your user name.
- From there, press then on iCloud.
- Next, look for the Find my iPhone option.
- On the screen that now appears, you just have to enable or disable depending on what you want. For it, presses the button that there is to the right.
Find Your iPhone With No password
You can neither activate nor deactivate Find My iPhone without a password.
Apple’s security system is designed so that only the real owner of the device can change this option, so it requires not only a passcode to be entered but also the Apple ID linked to the device.
If you do not have the password to access the ID, the only solution is to go to the iCloud platform and request a new one:
- Go to the https://www.icloud.com website.
- Once it there, click or tap on the Forgot your Apple ID or password? option.
- On the next screen, enter the Apple ID for which you do not have the password.
- After this, check the I want to reset password option and then click Continue.
- We recommend that you now choose the option Answer security questions and click Continue again. If you prefer, you can choose Receive an e-mail.
- Answer several of these questions in order to proceed.
- Now enter the new password. You have to type it twice to confirm that it is correctly entered. Then click on Reset.
- Now, go to the phone and re-enter the Find my iPhone option. Use the new passcode and you can continue.
From Your iPhone From Another Apple Device
If you don’t have another device with iOS operating system, skip straight to the next section to see how to proceed from iCloud.
If you do or know someone who does, follow these steps, although you won’t be able to enable it:
- With your iPhone, iPad or iPod Touch turned on, open the Find My iPhone app.
- Once this is done, log in with the Apple ID of the phone in question and also enter the passcode in the fields that appear. You may have to unlink the original account from the handset or you may have to use the account of a family member who is linked to the family group.
- Once you are in, go to the Settings section.
- Now click on your Apple account.
- Then, check the iPhone you want to access.
- Next, in the menu that appears, press on the option Find my iPhone.
Find Your iPhone From iCloud
You need another device and a web browser, and you can only disable the service since enabling it requires having the device in hand.
Follow the steps below:
- Open the web browser of the device you are using and enter the following URL in the address bar at the top: https://www.icloud.com/#find
- Now, enter your Apple ID email address in the blank field on the screen. Click on the arrow icon next to it once you have done so.
- Then repeat by typing the password in the field that appears below. Remember to respect capital letters if there are any. Click again on the arrow.
- In the panel that appears, click or tap on All devices.
- You will then see a list of all the devices linked to your account. Choose the one you want.
- Once you have chosen it, you only have to click on the Remove from account option to deactivate it. If this option does not appear, look for another an X symbol, it is Delete. All you have to do is click on it and accept if asked.
- Done!
ref:84#